
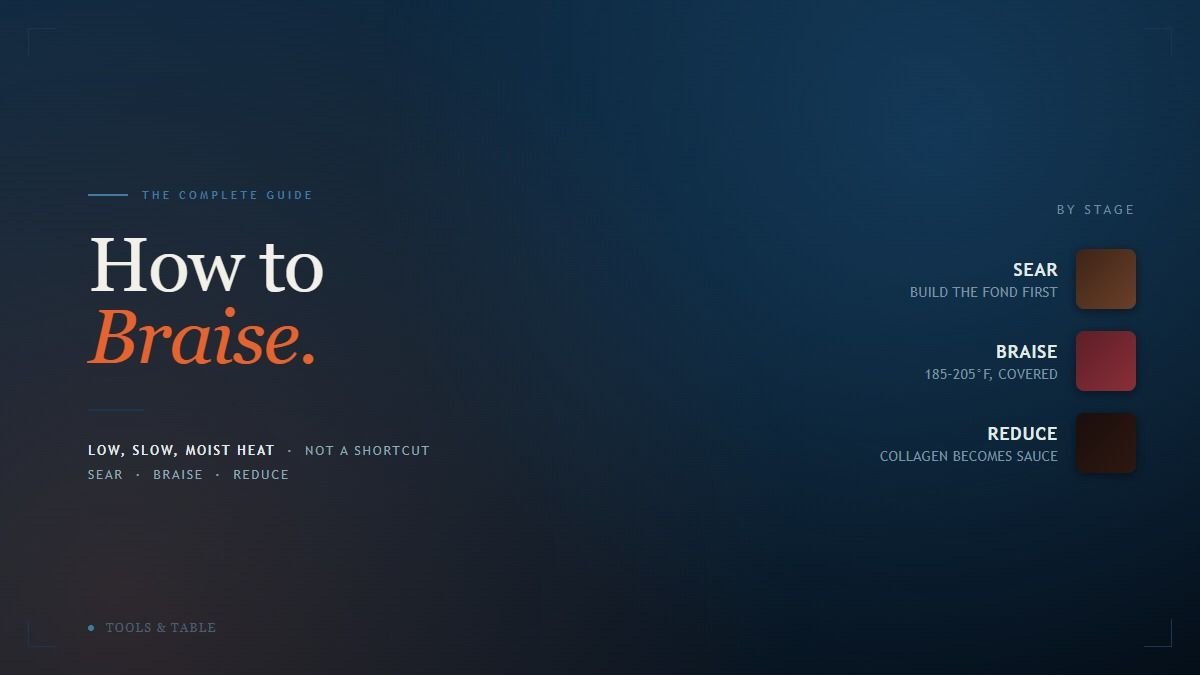
Braising gets treated as a synonym for “cook it low and slow,” which skips the part that actually matters. A braise is two techniques stacked on top of each other: a hard sear in dry heat, then a long simmer in liquid that never quite covers the meat. Skip the sear and you lose the flavor the browning builds. Fully submerge the meat and you’re boiling it, not braising it. Neither mistake ruins the dish outright, but neither one gets you the thing a real braise actually delivers: meat that falls apart on contact, in a sauce that’s already seasoned itself.
This guide covers what’s actually happening to the meat as it braises, real times by cut rather than a vague “until tender,” how much liquid a braise needs (less than most people pour in), and the handful of mistakes that turn a two-hour investment into a disappointing one.
The Two Steps Every Braise Shares
Sear first, always. Before any liquid goes in, the meat gets a hard sear in a hot, heavy pot, usually a Dutch oven, on all sides until deeply browned. This isn’t about cooking it through, an hour of simmering afterward will finish that job on its own. It’s about building the fond, the layer of browned proteins and sugars that sticks to the bottom of the pot through the Maillard reaction. That fond is flavor that doesn’t exist yet in raw meat, and it only forms in dry heat above roughly 300°F, water never gets hot enough to trigger it. A pot that goes straight to simmering without a sear skips this step entirely, and the dish tastes flatter for it, no matter how long it cooks afterward.
Deglaze to collect what the sear built. Once the meat is browned and set aside, wine, stock, or both go into the same pot over the fond, and a wooden spoon scrapes the browned bits loose as the liquid heats. That fond doesn’t just sit at the bottom, it dissolves into the liquid and becomes the base of the braising sauce itself. Skipping this step, or wiping out the pot before adding liquid, throws away most of what the sear was for.
What’s Actually Happening: Collagen Becomes Gelatin
Braising exists for one specific reason: some cuts of meat, shanks, short ribs, chuck, oxtail, pork shoulder, are loaded with collagen, the connective tissue that makes them tough when cooked quickly. At a bare simmer, roughly 185–205°F, that same collagen gradually dissolves into gelatin. This is a chemical transformation, not just softening, and it’s why a tough cut braised properly ends up more tender than a naturally tender cut like tenderloin ever gets. The gelatin also thickens the braising liquid on its own, no flour or cornstarch required, which is why a good braise’s sauce goes glossy and clings to the meat by the time it’s done.
This only works within a narrow temperature window. Above roughly 205–212°F, a hard boil instead of a simmer, the meat’s muscle fibers seize and squeeze out moisture faster than the collagen can convert, and the result is dry, stringy meat sitting in a good sauce, the opposite of what a braise is supposed to produce. This is the real argument for the oven over the stovetop: an oven set to 300–325°F surrounds the pot in steady, even heat, holding the liquid at a gentle simmer without babysitting it. A stovetop burner, even on its lowest setting, tends to create a hot spot directly under the pot that pushes the near-bottom liquid past a simmer, the same failure mode described in our Pan Has to Be Hot piece, just running in the opposite direction.
Braise Times by Cut
These are ranges, not guarantees, the real test is always a fork twisting free with no resistance, not a timer. A cut that’s still fighting back at the low end of its range just needs more time, not a higher oven temperature.
| Cut | Braise Time | Liquid Level |
|---|---|---|
| Beef shank (cross-cut) | 2–2.5 hours | Halfway up the meat |
| Beef short ribs, bone-in | 2.5–3 hours | Halfway up the meat |
| Chuck roast (whole or large pieces) | 3–3.5 hours | Halfway up the meat |
| Oxtail | 3–3.5 hours | Halfway up the meat |
| Pork shoulder, cut into 2″ pieces | 2–2.5 hours | Halfway up the meat |
| Lamb shank, whole | 2–2.5 hours | Halfway up the meat |
| Chicken thighs, bone-in | 45 min–1 hour | About 1/3 up the meat |
Chicken thighs are the outlier on this table, and it’s worth knowing why. They have far less collagen than a beef shank or a pork shoulder, so they need far less time and far less liquid to get there, treating chicken thighs like a beef braise just overcooks them into dry meat long before the clock says done. See our Braised Beef Shanks and Braised Short Ribs for the beef end of this table in full recipe form, and our Chicken and Shrimp Gumbo for how the shorter chicken timeline plays out in practice.
How Much Liquid, Really
The most common braising mistake is pouring in enough liquid to fully submerge the meat. That’s not a braise, that’s a boil with extra steps, and it’s also the mistake that dilutes the sauce into something thin and washed-out rather than concentrated. A real braise uses just enough liquid to come roughly halfway up the sides of the meat, the top surface stays exposed to the pot’s dry heat and steam rather than fully drowned, which keeps the flavor concentrated and gives the exposed top a head start on browning further as it cooks. If the liquid looks too shallow before it goes in the oven, resist the urge to top it off, it rises as the meat releases its own juices, and a covered pot traps far more moisture than an uncovered one loses.
Cover the pot for the actual braise, this traps the moist heat that’s doing the real work. If the sauce needs thickening at the end, that’s the one time to remove the lid, transfer the meat out, and reduce the liquid on the stovetop or in the oven uncovered until it’s the consistency you want, then return the meat to the sauce to finish. Trying to reduce a covered pot just re-condenses the same water back in.
Common Mistakes
- Skipping the sear, or rushing it. A pale, gray-braised piece of meat never built a fond in the first place, no amount of simmering afterward adds that flavor back in. Give each side real time in a hot, dry pot before any liquid goes in.
- Crowding the pot during the sear. Too much meat at once drops the pot’s temperature and the meat steams in its own released liquid instead of browning. Sear in batches if the pieces don’t have breathing room.
- Fully submerging the meat. This is a boil, not a braise, and it dilutes rather than concentrates the sauce. Halfway up the sides is the target, not covered.
- Boiling instead of simmering. Bubbles breaking rapidly across the surface mean the liquid is too hot, muscle fibers seize and squeeze out moisture faster than collagen can convert. A braise should show the occasional slow bubble, not a rolling boil.
- Pulling it at a time instead of a texture. “Two hours” is a starting estimate, not a finish line, the only real test is a fork meeting no resistance. An underdone braise is tough in a way more time fixes; an overdone one doesn’t exist the same way an overdone steak does, braised cuts are forgiving on the far end.
- Skipping the fat skim. Rendered fat floats to the top of a finished braise and can make the sauce taste greasy rather than rich. A quick pass with a spoon, or chilling the whole pot overnight so the fat solidifies into a layer that lifts off clean, fixes this in seconds.
For braising theory applied to full recipes, see Braised Beef Shanks, Braised Short Ribs, Beef Stew, and Slow Cooker Pot Roast for the low-and-slow beef end of the technique, or Albóndigas de Pavo for how the same sear-then-simmer logic scales down to meatballs in a roux-thickened sauce.