A sharp knife is safer than a dull one. It goes where you aim it instead of skidding off an onion and into your thumb, and it turns twenty minutes of prep into ten. Sharpening sounds like a specialist skill, but it comes down to two things: holding a steady angle and knowing when to stop. Both take about one afternoon to learn.
This guide covers how to tell if your knife is actually dull, the difference between honing and sharpening, the right angle for Western and Japanese blades, and the full whetstone method. As an Amazon Associate I earn from qualifying purchases. Buying through these links costs you nothing extra and helps keep this site running.
Is Your Knife Actually Dull?
Two quick tests. Hold a sheet of printer paper by one corner and slice down through it. A sharp edge glides through cleanly; a dull one catches, tears, or folds the paper. Or set the blade on a ripe tomato with no pressure and pull it back gently. A sharp knife bites into the skin right away. A dull one slides across the top.
If it fails, hone it first (next section) and test again. Most knives that feel dull just need honing.
Honing vs. Sharpening
These are two different jobs. Honing straightens an edge that has rolled slightly to one side from normal use. It removes almost no metal, takes ten seconds, and can be done every time you cook. Sharpening grinds away a thin layer of steel to build a brand-new edge. A home cook needs to sharpen every few months at most. Hone often, sharpen rarely, and your knives will last decades.
For a deeper look at the two, see the Honing vs. Sharpening section of our Knife Skills guide.
Know Your Angle: Western vs. Asian Blades
The angle is the single most important number in sharpening, and it depends on the knife. It’s measured per side, from the blade to the stone.
- Western (German-style) knives: about 20° per side. Softer, tougher steel with a sturdier edge that shrugs off bones, squash, and the occasional careless cut. Many newer Western knives are ground a little finer, closer to 15°, so check the maker’s spec if you can.
- Japanese double-bevel knives: about 15° per side. Harder, thinner steel that takes a much keener edge but chips more easily. Shun, for example, sharpens its knives to 16° per side. Sharpening one of these at 20° makes it noticeably duller than it came from the factory.
- Japanese single-bevel knives (yanagiba, deba, usuba): one side only. The front is ground at an angle and the back is nearly flat and slightly hollow. You sharpen the front at its existing bevel and only lightly flatten the back to remove the burr. Never sharpen the back like a normal knife.
Our own kitchen has one of each style: a Victorinox 8-inch chef’s knife for heavy work, and a Shun Classic 7-inch Asian Cook’s knife for precise cutting. They get sharpened at different angles.
Not sure what angle your knife has? Use the marker trick. Color the edge bevel with a permanent marker, set the knife on the stone at your best guess, and take one light stroke. If the ink comes off evenly across the bevel, your angle matches. Ink left at the very edge means you’re too low; ink left at the top of the bevel means you’re too high. Adjust and try again.
Finding 15° or 20° by eye. Hold the blade straight up at 90°. Halve that to 45°, then halve it again to about 22°. Tip it a little lower from there for 20°, and a little lower again for 15°. Angle guides that clip onto the spine help while you’re learning, but a steady wrist matters more than a precise number.
What You Need
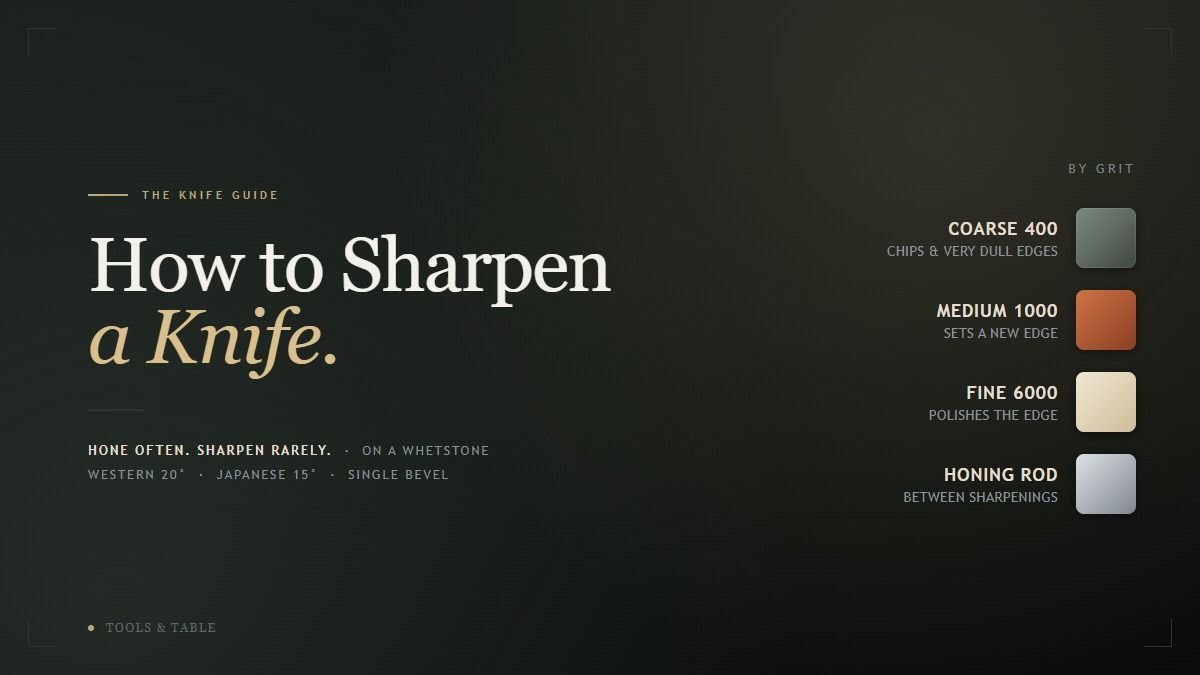
- A combination whetstone, 1000/6000 grit. The 1000 side does the actual sharpening; the 6000 side polishes the edge smooth. This one stone covers almost every home kitchen. Combination Whetstone →
- A ceramic honing rod, around 1000 grit. For the in-between upkeep. Ceramic is gentle enough for hard Japanese steel, where a ridged steel rod can chip a thin edge, and 1000 grit matches the sharpening side of the stone. Ceramic Honing Rod →
- A damp kitchen towel. Keeps the stone from sliding if it doesn’t come with a non-slip base.
- Optional: a coarse 400-grit stone. Only needed to repair chips or bring back a badly neglected edge.
How to Sharpen on a Whetstone
- Soak the stone. Most combination stones are soaking stones: submerge them in water for 10 to 15 minutes, until the bubbles stop. Splash-and-go stones only need water on the surface. Set it on a damp towel, 1000 side up.
- Set your angle. Hold the handle in your dominant hand with your index finger on the spine, and set the edge on the stone at your angle: about 20° for a Western knife, 15° for a Japanese one. Rest two or three fingertips of your other hand on the flat of the blade near the edge.
- Sharpen the first side. Push the blade across the stone as if slicing a thin layer off the top, with moderate pressure, sweeping from heel to tip so the whole edge makes contact. Lift the handle slightly as you reach the curved belly so the tip gets sharpened too. Keep the angle steady; that’s the whole skill.
- Feel for the burr. After 10 to 15 strokes, carefully run your thumb off the edge on the opposite side, moving from the spine toward the edge, never along it. A slight rough lip, the burr, means you’ve ground all the way to the edge. Keep going until you can feel it along the full length, heel to tip.
- Repeat on the second side. Flip the knife and do the same number of strokes at the same angle until the burr forms on the first side. Keep the stone wet; the gray slurry that builds up helps the sharpening, so don’t rinse it off.
- Polish on the fine side. Turn the stone to the 6000 side and repeat with lighter pressure, about 10 strokes per side. Finish with a few single alternating strokes, one per side, to shrink the burr to nothing.
- Strop and test. Drag the edge backward a few times across a folded newspaper, cardboard, or a leather strop to remove the last of the burr. Then do the paper test again. Rinse and dry the knife and let the stone air-dry before you put it away.
Single-bevel knives follow the same steps on the front side only. On the back, lay the blade completely flat on the fine side and take a few light strokes just to remove the burr.
How to Hone
Stand the rod tip-down on a towel on the counter. Place the heel of the blade against the top of the rod at the same angle you sharpen at, and draw it down and toward you so the whole edge, heel to tip, meets the rod. Alternate sides, 4 to 6 light strokes each. Light is the key word: pressing hard just rolls the edge again. Do this before you start cooking, or whenever the knife starts to feel a little off.
Pull-Through and Electric Sharpeners
They’re fast, forgiving, and fine for a sturdy Western workhorse. The catch is that the angle is fixed. A 20° pull-through will reshape a 15° Japanese edge into a thicker one, and coarse carbide slots can chip hard Japanese steel. Match the sharpener’s angle to the knife, and use a whetstone for anything thin and hard.
For Western knives, an electric sharpener gets a good edge in about thirty seconds. We use ours on the Victorinox and other Western blades only; the Shun always goes on the whetstone. ChefsChoice Electric Knife Sharpener on Amazon →
How Often to Sharpen
Hone every time you cook, or every few times. Sharpen on a whetstone when honing no longer brings the edge back, usually every two to four months for a knife in daily use. If you cook less, once or twice a year is plenty. Sharpening more often than needed just wears the blade down faster.
Common Mistakes
- Rocking the angle. A wobbling wrist rounds the edge instead of sharpening it. Slow down; speed comes later.
- Stopping before the burr. No burr means you haven’t reached the edge yet, and the knife won’t get sharper no matter how long you polish.
- Pressing hard on the fine stone. Heavy pressure on the finishing side undoes the polish. Let the stone do the work.
- Using a dished stone. Stones wear a dip in the middle over time. Flatten yours every few sessions by rubbing it on coarse sandpaper on a flat surface or on a flattening plate.
- Whetstoning a serrated knife. Serrated bread knives need a tapered rod for each scallop, or a professional. They stay sharp for years anyway.
Keep It Sharp Longer
Cut on wood or plastic, never glass, stone, or a plate. Hand wash and dry right away; the dishwasher dulls and chips edges. Store knives on a magnetic strip, in a block, or with blade guards rather than loose in a drawer. And don’t scrape food off the board with the edge. Flip the knife over and use the spine.
Then put the edge to work. Pisto and Gazpacho are all dicing, and a sharp knife makes the thin onion slices for French Onion Soup go fast. For cutting technique, see Knife Skills, and for the rest of our kit, the Kitchen Tools Guide.